
As photographers, light is everything. Professionals separate themselves from amateurs based on how they manage light. A good photographer with a bad camera can outperform a bad photographer with the best camera merely by understanding how light works and using it to their advantage.
The first step in managing light is choosing a setting based on the goals of the photographer and client. The absolute optimal light for a stunning photoshoot is often the fleeting, soft glow of the sun during the "golden hour." For bespoke, single clients who prioritize this perfect, natural light, an outdoor photo shoot at this time cannot be beat.
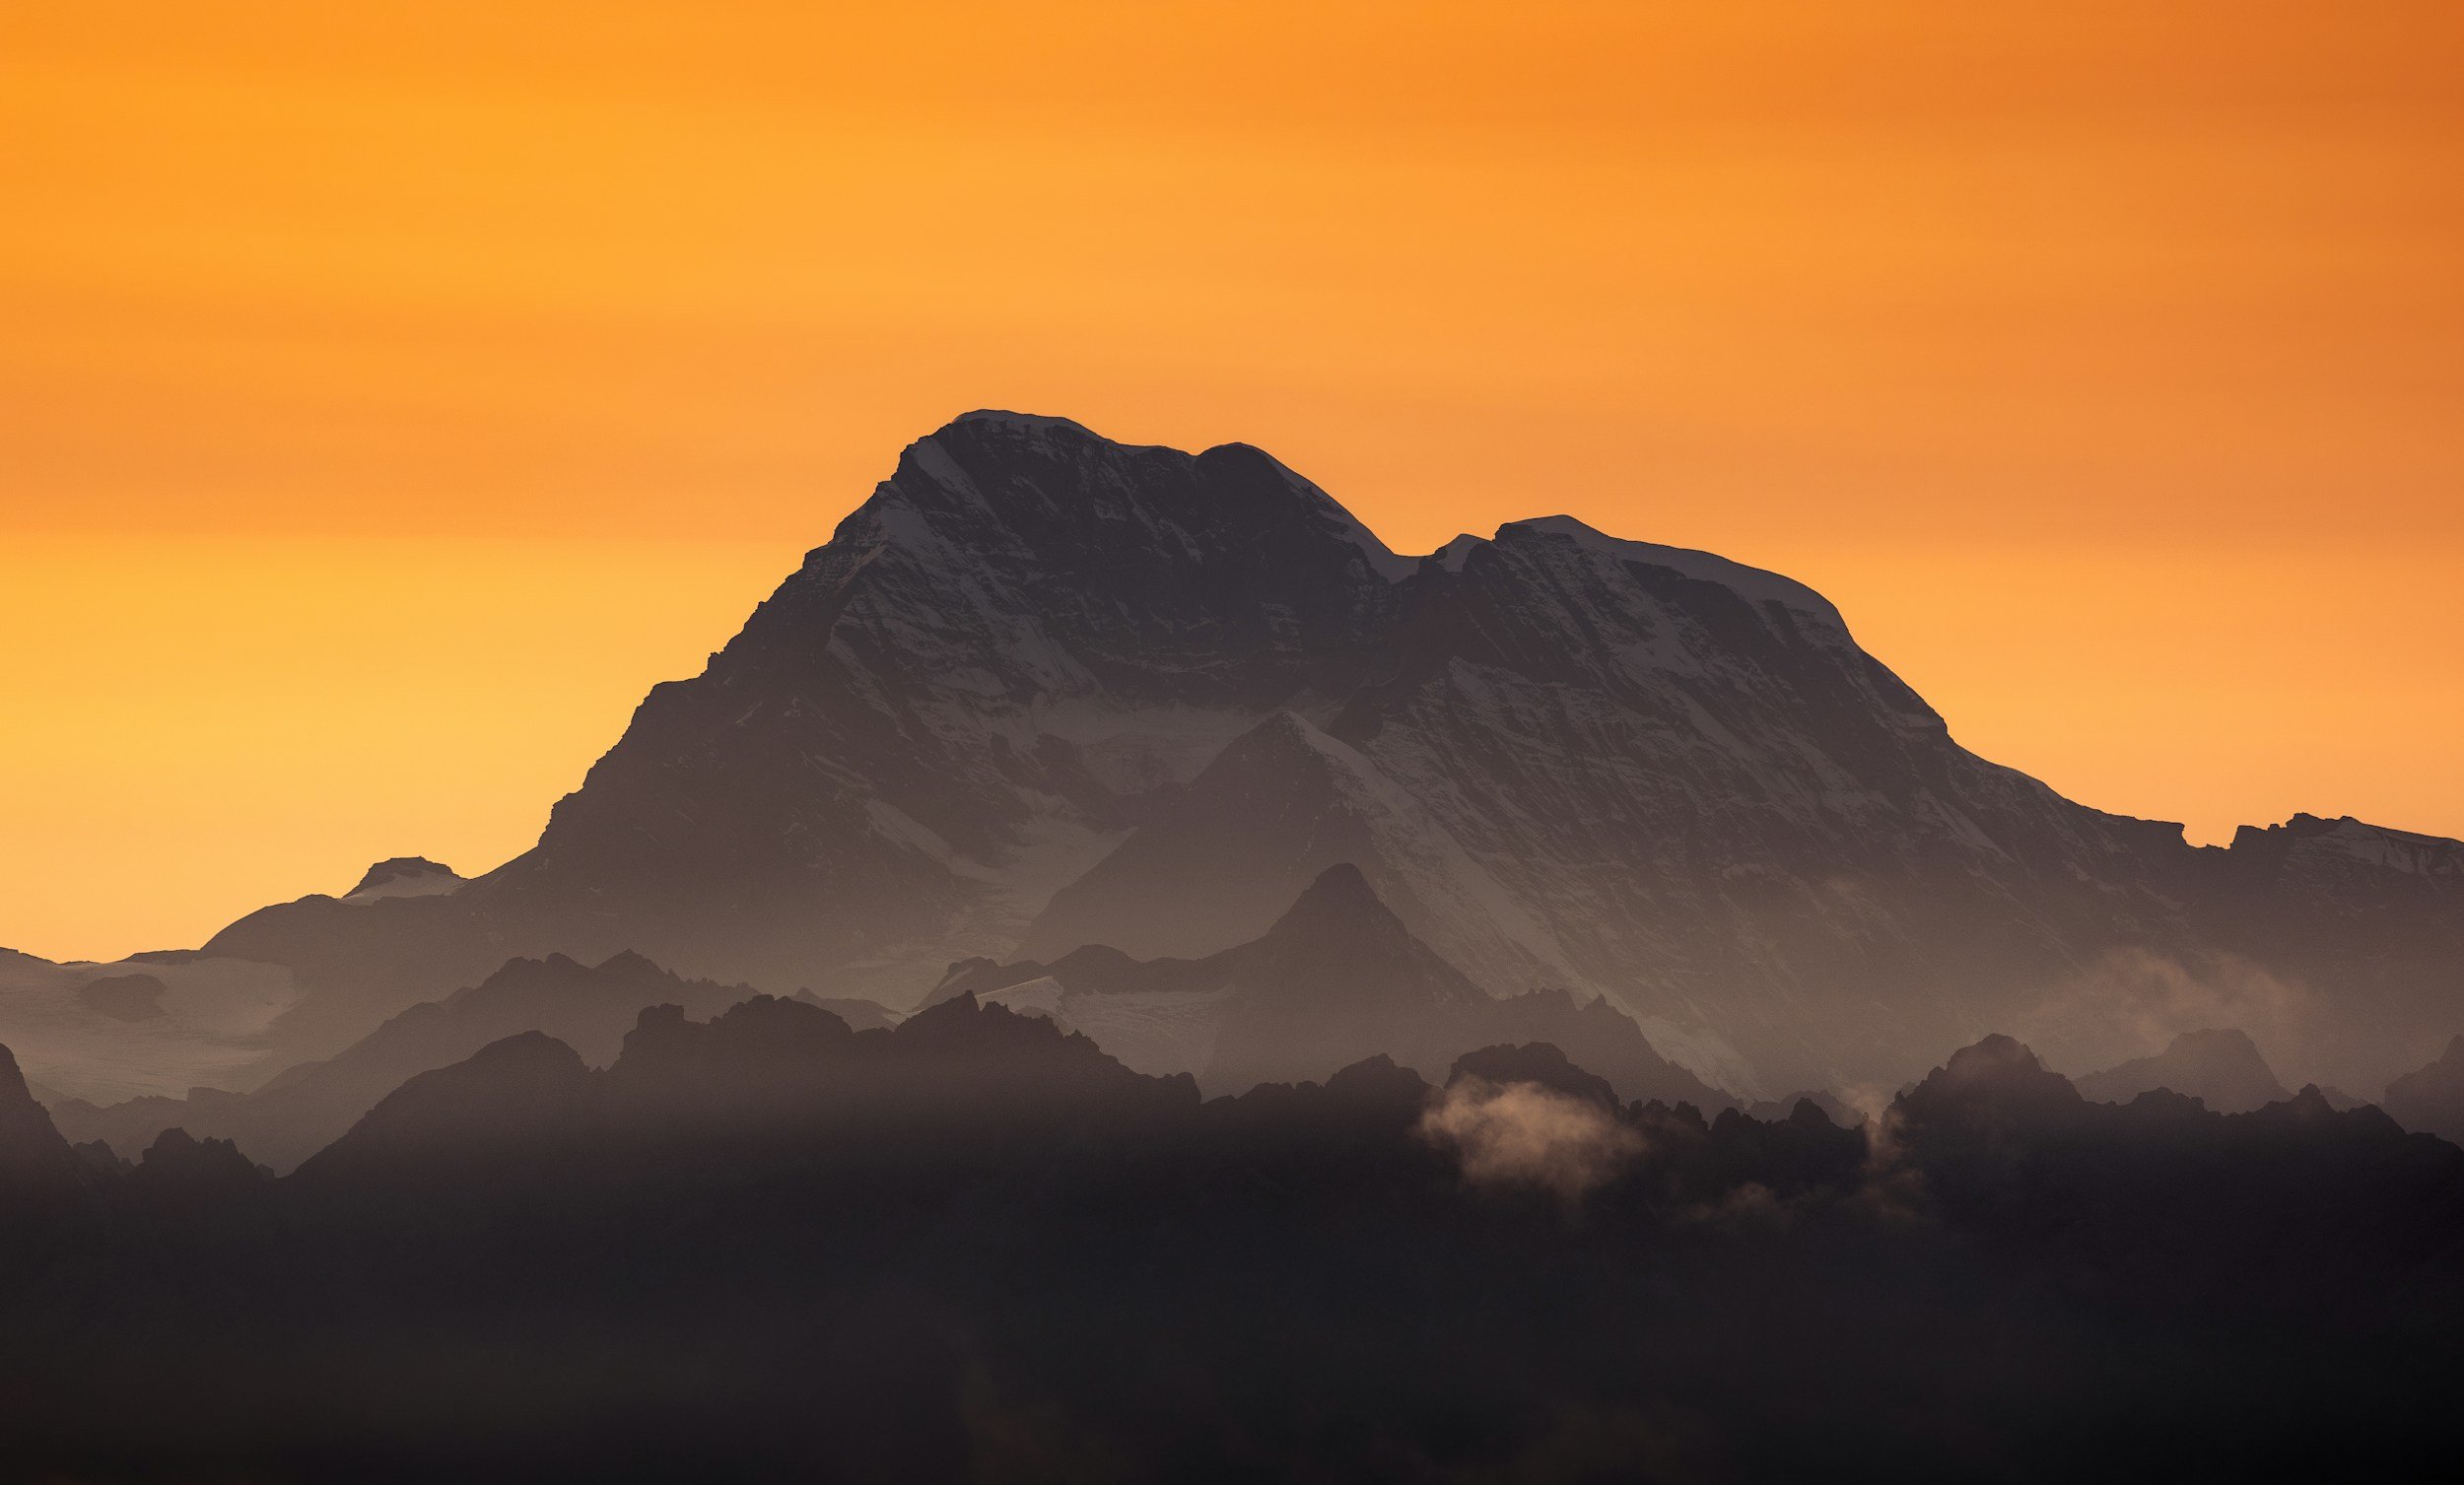
However, the trade-off for this incomparable quality is its unreliability and brief window. For high-volume work or reliable shoot dates that can't be rescheduled due to weather, a controlled studio is essential. When photographers cycle through multiple clients in a day, they must trade the optimal light of the golden hour for the control a studio provides. This studio setting allows for reliable, consistent results regardless of the time or weather, but it requires a different set of skills.
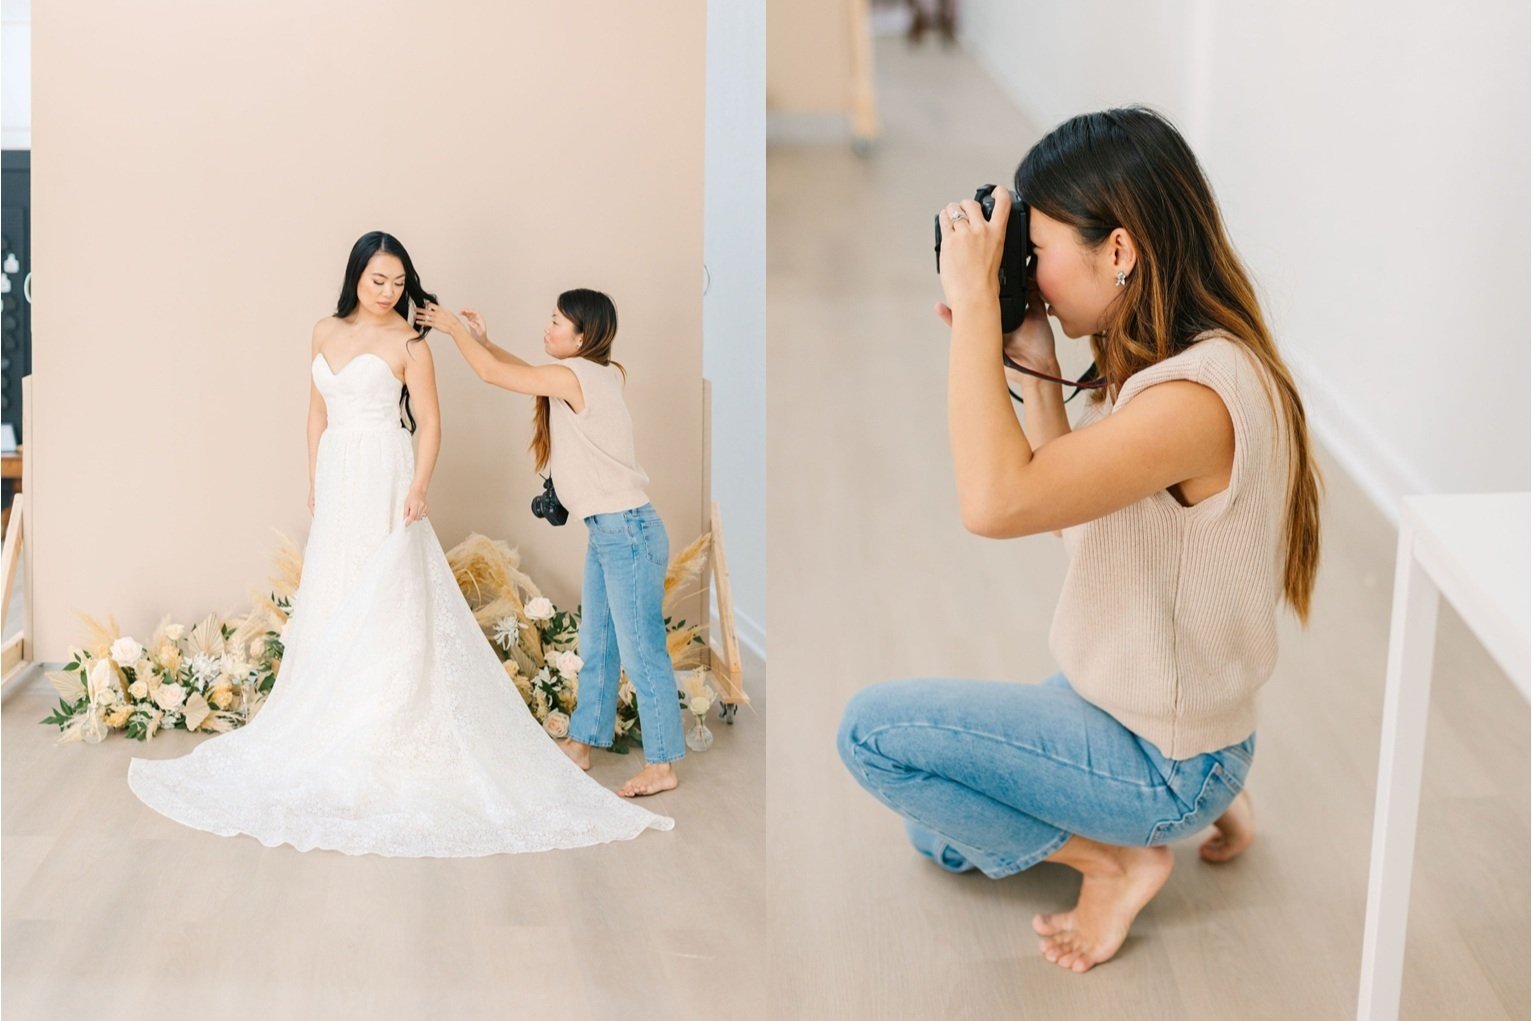
This guide will walk you through the fundamental principles of managing light, and provide specific best practices tailored to Studio Fort Worth, ensuring you achieve consistent, professional results every time.
General Principles for Lighting at Studio Fort Worth
Understanding a few core concepts will empower you to shape light with confidence:
Light is a Tool for Control: In the studio, light is a deliberate choice, not a happy accident. You dictate its direction, intensity, and quality. This consistency allows for precise repetition of results, invaluable for commercial work, portraits, and product photography.
Continuous vs. Strobe:
Continuous Lights (LEDs, Hot Lights): These remain on constantly. Their primary advantage is visual feedback – what you see is what you get. Ideal for video, for those learning light shaping, or for situations where modeling lights on strobes aren't bright enough.
Strobe Lights (Flash): Deliver a powerful, short burst of light. Their key benefit is power and color consistency. Strobes allow you to use low ISOs (for maximum image quality) and small apertures (for greater depth of field and sharpness), effectively overpowering any ambient light.
The Inverse Square Law: Light intensity decreases rapidly as the distance from the source increases. Doubling the distance reduces light intensity to one-quarter. This is crucial for understanding why distant lights are weaker and how moving a light even a foot can dramatically change its effect.
Light Modifiers are Key: A light source itself is often too harsh. Modifiers (softboxes, umbrellas, grids) soften, shape, and direct light, transforming it into the exact quality you need.
Understanding Our Studio Environment

Our 1,000 sq ft space is equipped with four 4' commercial LED overhead lights, mounted at a height of approximately 12 feet. These provide a consistent, functional ambient light source that you'll need to account for, whether you're using them as your primary light or supplementing them with professional lighting.
This setup presents a continuous, hard top-light source. Its specific characteristics require particular attention to your camera settings to avoid common issues.
Recommended Camera Settings: Your Starting Point
These settings provide a solid foundation for clean, sharp, and consistent images in our studio.
1. Exposure Triangle: Balancing the Light
Mode: Manual (M)
Why: This is non-negotiable for studio work. You, not the camera, must control the exposure. Auto modes will "hunt" for exposure, leading to inconsistent results.
ISO: 100 (Native Base ISO)
Why: Always use your camera's lowest native ISO. This minimizes digital noise, ensuring the cleanest possible image quality. With the power of our lighting (be it strobes or the overhead LEDs), there's rarely a need to raise ISO.
Shutter Speed: Your Flicker Defense
Why: For continuous LED lights, this is critical for preventing flicker banding. Most commercial LEDs use Pulse Width Modulation (PWM), which cycles the light on and off rapidly (too fast for the eye, but not for the camera).
Recommended: Set your shutter speed to 1/60s or 1/125s.
Note: Your shutter speed in a studio with continuous light does affect exposure (unlike with strobes). Adjust it carefully.
Camera Anti-Flicker: If your camera has an Anti-Flicker or Flicker Reduction feature, enable it. This can automatically optimize shutter timing.
Aperture (f-stop): Controlling Depth and Brightness
Why: This controls both your depth of field (how much is in focus) and the overall brightness of your image.
Recommended: Start with f/4.0 to f/5.6. Due to the 12' height of the overhead LEDs, the light reaching your subject is less intense. This aperture range allows sufficient light to the sensor for a good exposure without forcing you to raise ISO or slow the shutter excessively. Adjust wider (e.g., f/2.8) for shallower depth of field, or narrower (e.g., f/8.0) for more in focus.
2. White Balance: Achieving Accurate Color
Custom White Balance (CWB): Essential
Why: Never rely on Auto White Balance in the studio. Commercial LEDs have a consistent color temperature, but it may not be "daylight" balanced. Use a gray card or white balance card to take a custom reading directly under the main light source.
Target Kelvin: As a starting point, most commercial LEDs fall between 4000K and 5000K (Cool to Neutral White). Try setting your camera to 4500K and adjust if necessary.
Shoot RAW: Always shoot in RAW. This preserves maximum color information, allowing for precise and non-destructive white balance adjustments in post-production, perfectly matching all images from your session.
Coupling Softboxes with Overhead Light
When using our provided softboxes in conjunction with the overhead LED lights, the softboxes will help diffuse and soften the illumination, creating a more flattering and even light over your subject.
Shutter Speed: Use a slower shutter speed, typically 1/30s to 1/125s, to ensure the LEDs provide enough continuous light. Experiment based on ambient light and desired motion blur.
Aperture: This controls your depth of field and exposure. Start at f/4.0 to f/5.6 to balance sharpness and light intake.
ISO: Keep your ISO as low as possible, ideally 100 to 400, to maintain image quality. Adjust upwards only if you cannot achieve the desired exposure with a slower shutter speed or wider aperture.
White Balance: Set to 4000K to 5000K (Tungsten/Fluorescent Preset) or use an ExpoDisc/Grey Card for a custom setting, as the overhead LEDs are likely warmer than daylight.
Conclusion
Working in our studio is an exercise in intentionality. By understanding these principles and implementing these settings, you transform from a reactive photographer to a proactive light designer. Experiment with the power, position, and modifiers to achieve your distinct creative vision.
We are grateful to be partnered with you. Please, send studio feedback to studiofortworthtx@gmail.com.
